What you need
- A PayGlue account
- To use Link a product: a payment provider connected, at least one product created, and a product mapping set up
Create a button
1
Open Buy Buttons
In your PayGlue dashboard, go to Installation > Buttons and click New button.
2
Name your button
Enter an internal name. This is only visible to you in the dashboard and helps you identify the button later.Optionally add a description — also internal only — for your own notes.
3
Set the link
Choose how the button links to your checkout:Free URL — paste any link. This can be a checkout URL from your payment provider, a Ghost portal link, or any other page. No further setup required.Link a product — select a product from your connected payment provider. The checkout URL is filled in automatically. Your payment provider must be fully connected and a product mapping must exist before using this option. Without a mapping, a purchase goes through but PayGlue cannot grant Ghost access to the member automatically.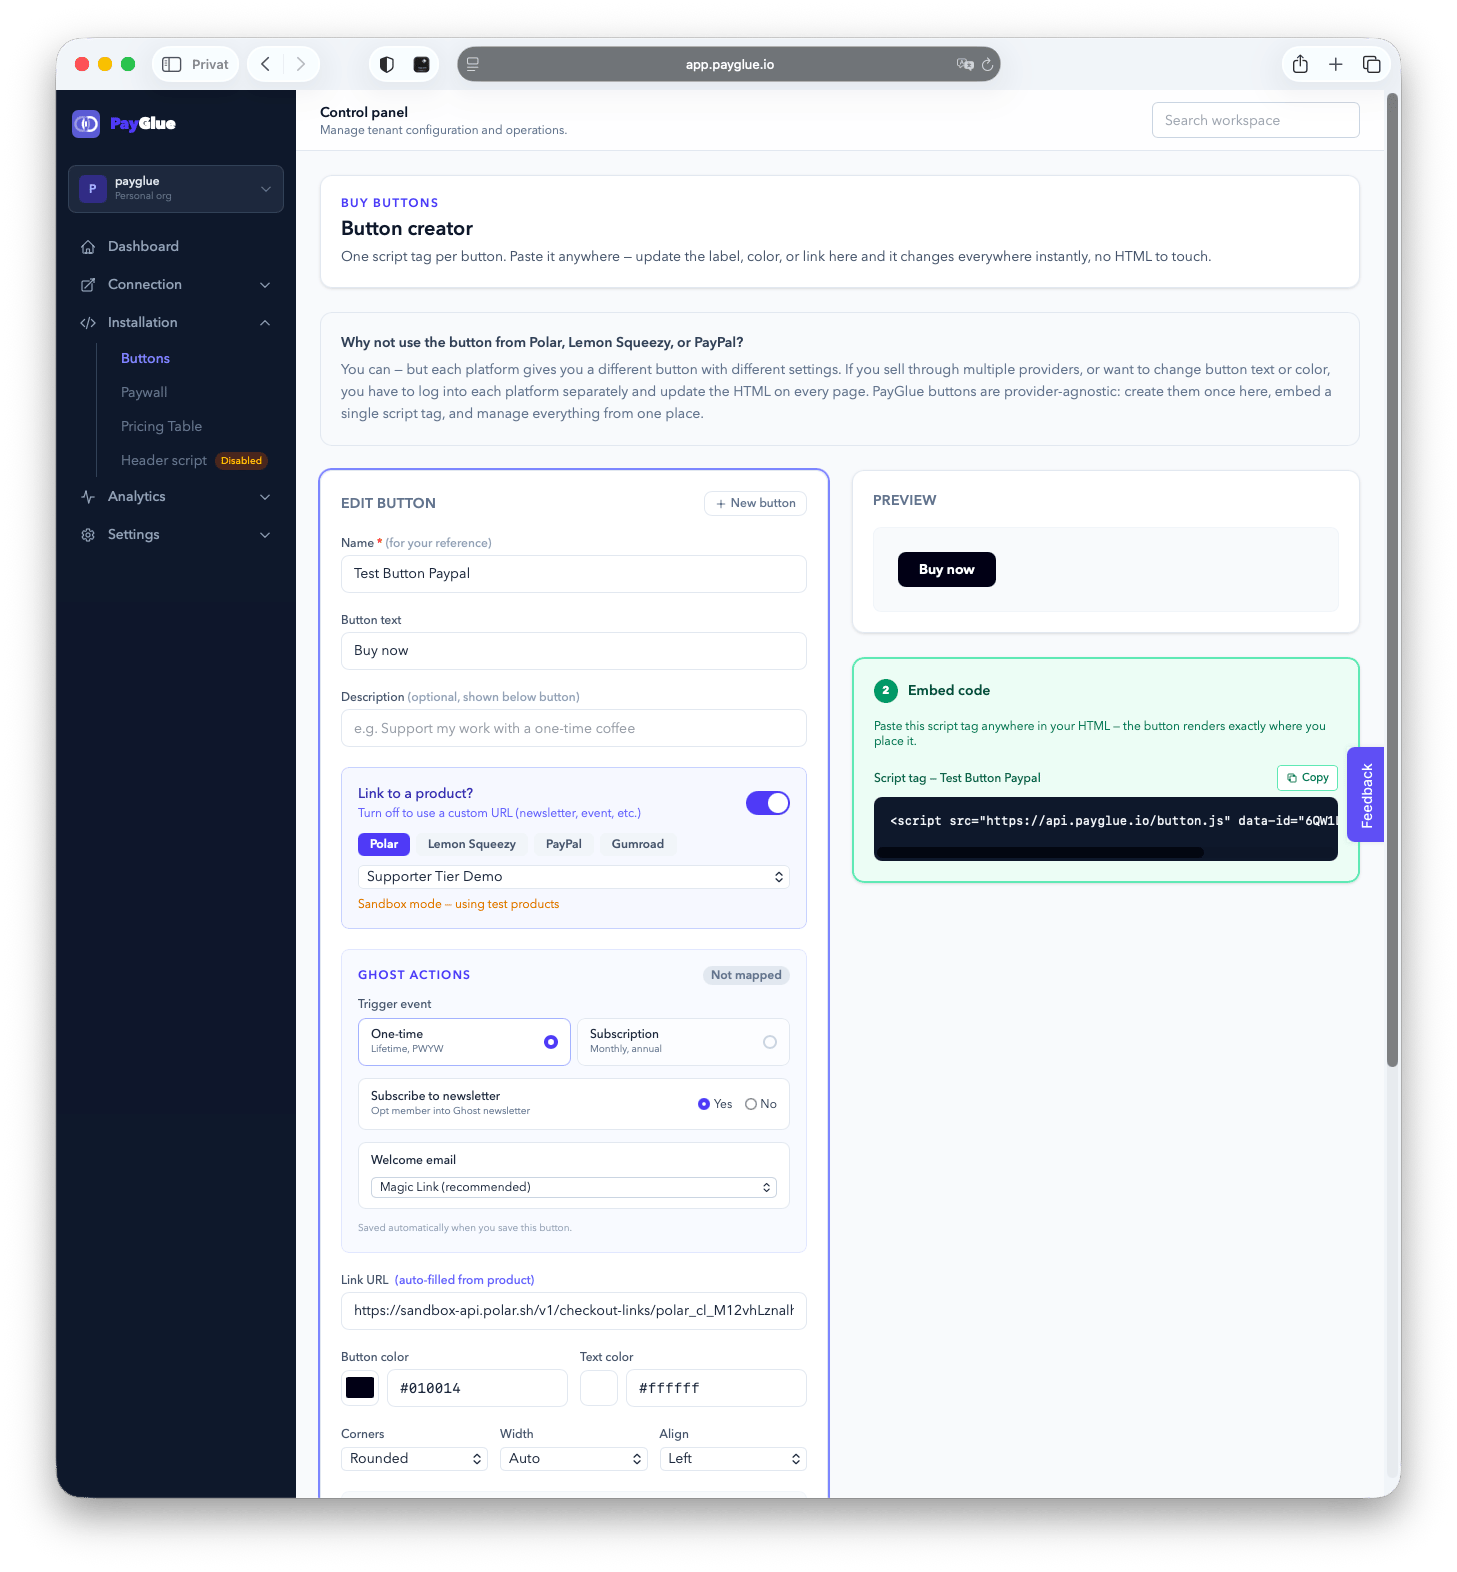
If you see Sandbox mode — using test products, your Polar token is set to the test environment. Purchases made via sandbox buttons do not result in real charges and will not trigger webhooks in production. Switch to a production token in Connection > Polar to go live.
4
Customize appearance
Set the button label, background color, text color, border radius, and width. Use the alignment options to position the button within the Ghost editor column.Under Open link in, choose New tab (recommended for external checkout pages) or Same tab.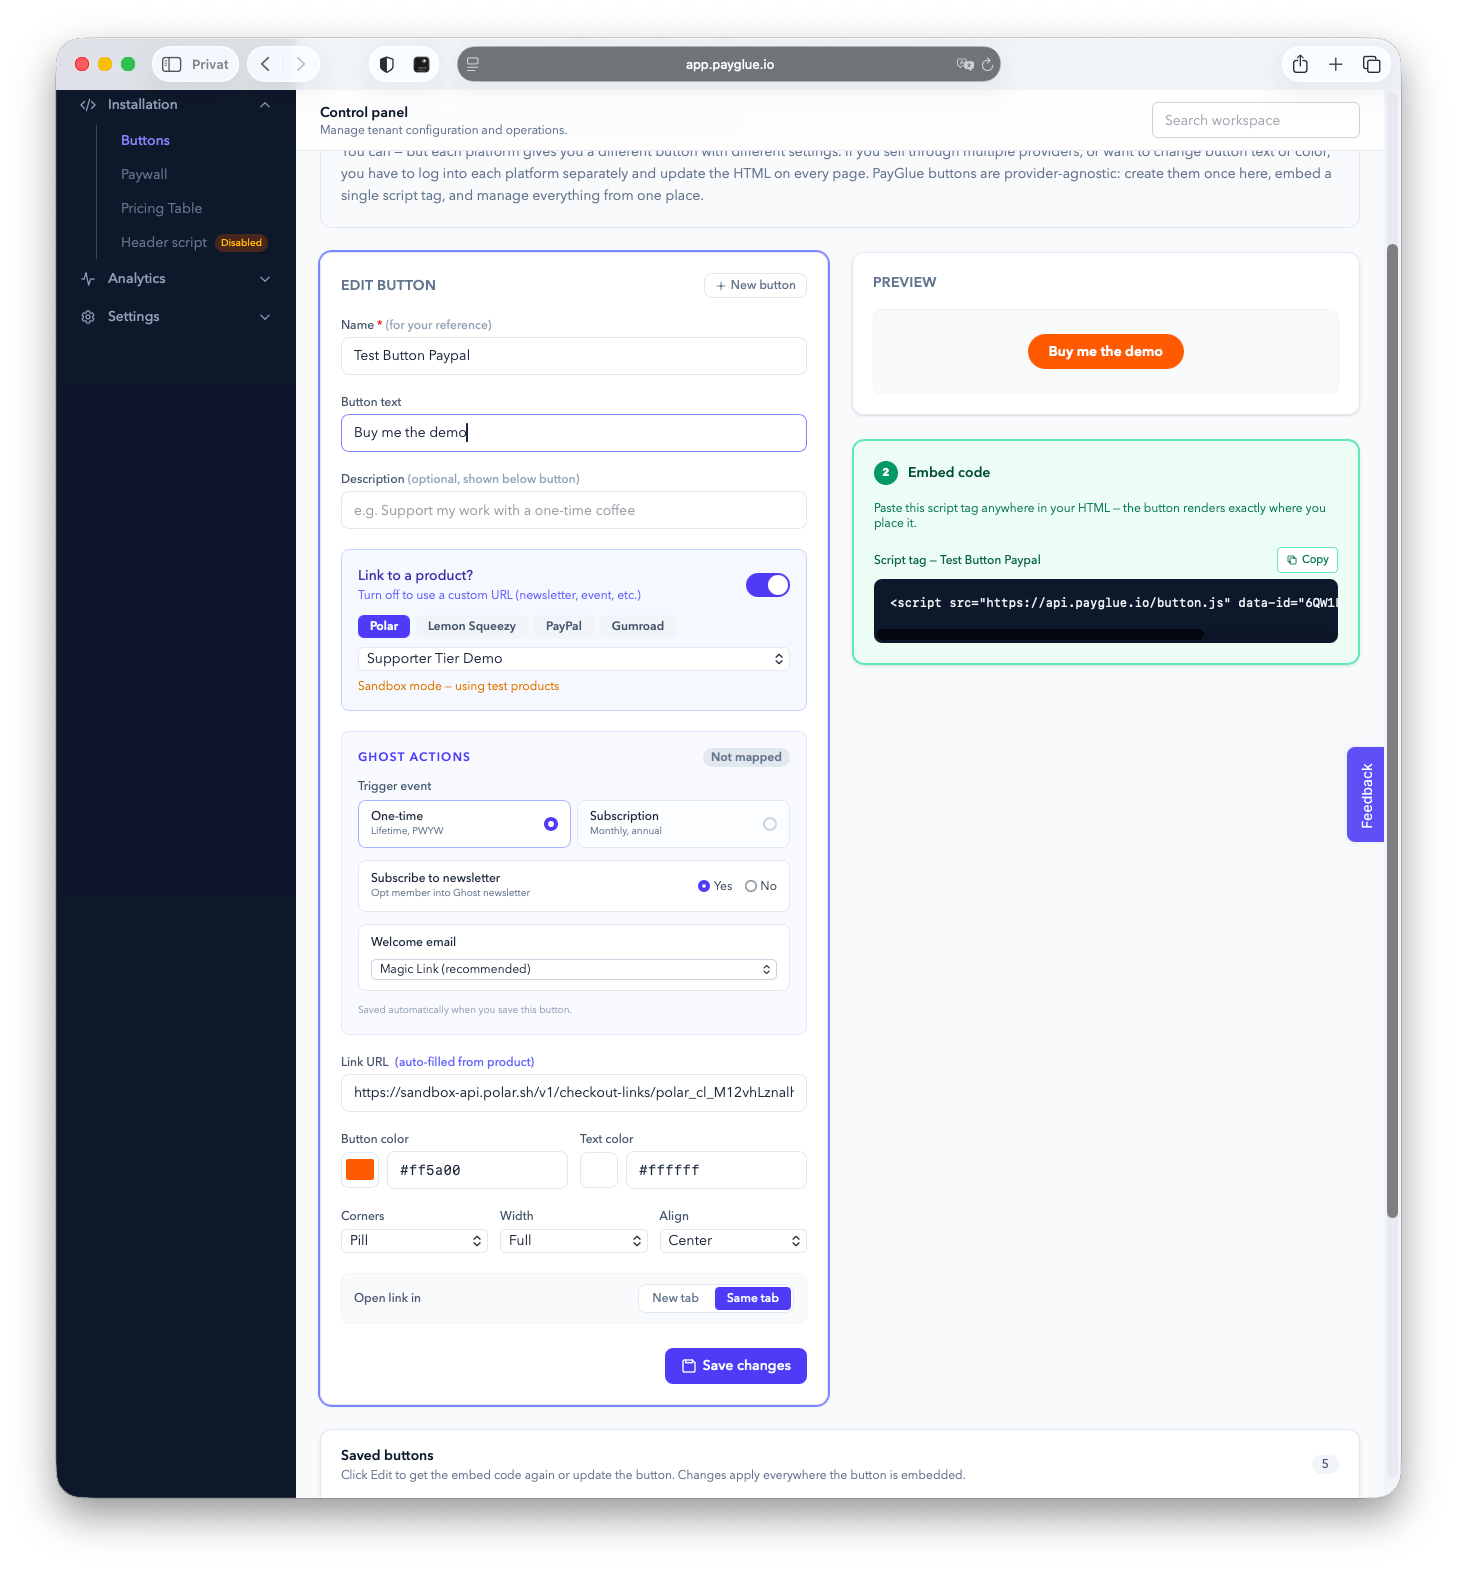
5
Save and copy the embed code
Click Save. The embed code appears directly below the form.Copy the embed code.
6
Paste into Ghost
In your Ghost post or page editor, add an HTML card where you want the button to appear, then paste the embed code.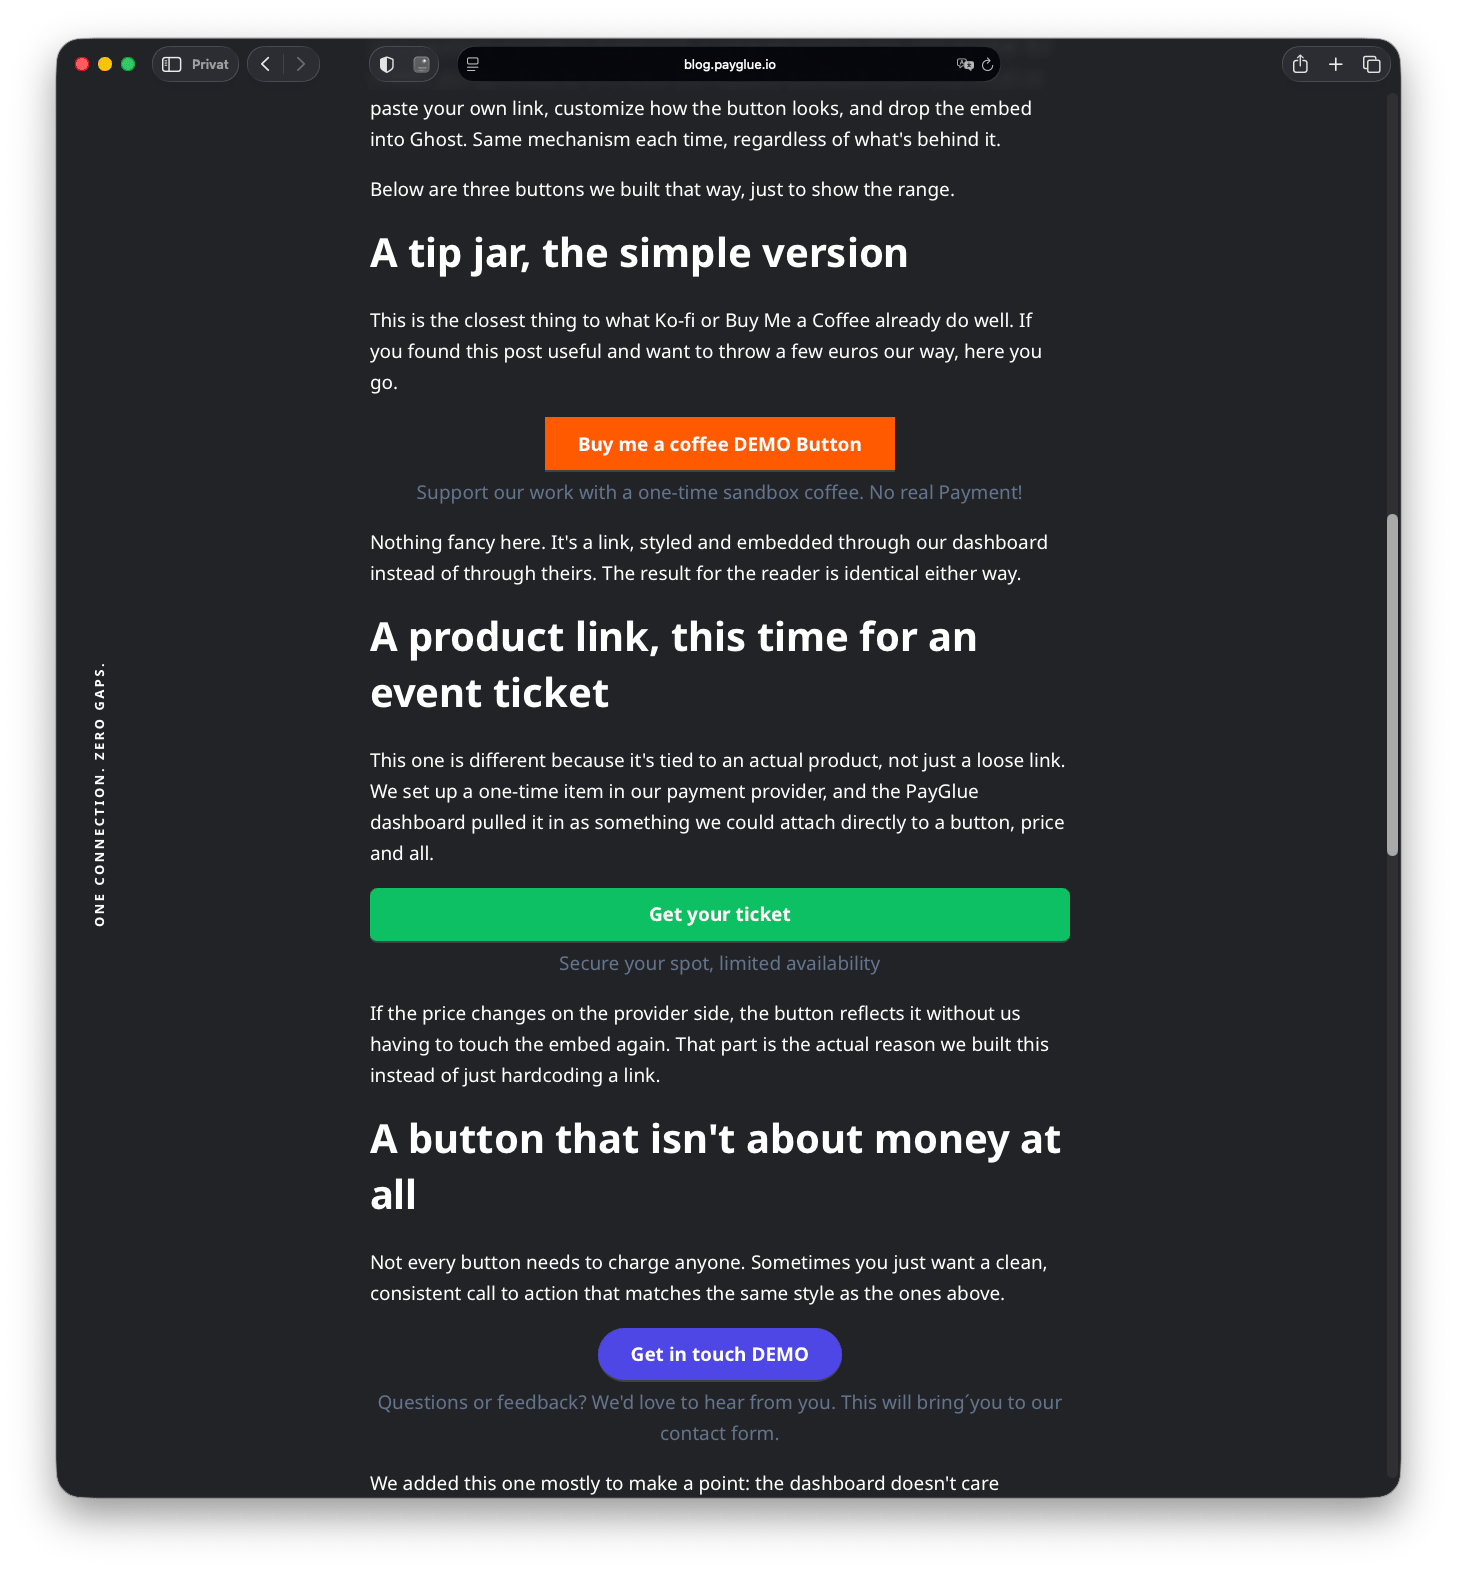
7
Want to test it?
Just visit https://blog.payglue.io/three-buttons-one-dashboard-how-we-embed-payment-links-in-this-blog/ and you can smash some buttons.
Editing a button
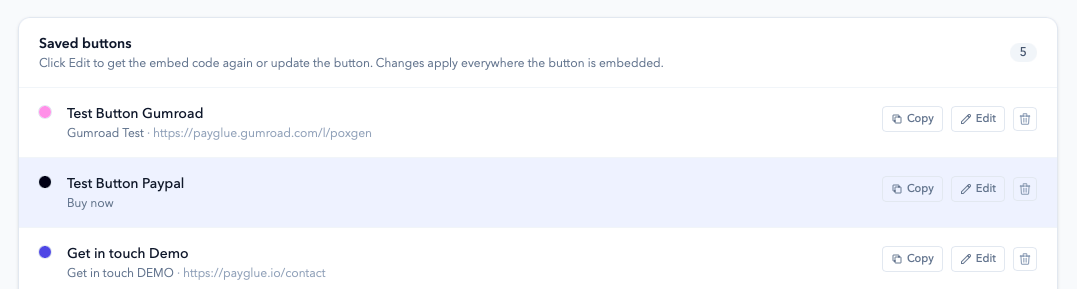
Open Installation > Buttons in the dashboard and click the edit icon next to any button. Changes apply to all posts that use that button’s embed code — you do not need to update the embed in Ghost.