> ## Documentation Index
> Fetch the complete documentation index at: https://docs.payglue.io/llms.txt
> Use this file to discover all available pages before exploring further.
# Buy Button
> Embed a styled payment button anywhere on your Ghost site.
A Buy Button is a clickable button that you embed inline in any Ghost post or page. It opens a checkout or any URL when clicked.
Ghost has a built-in button block — a PayGlue Buy Button gives you more styling control: custom colors, border radius, button width, label text, and alignment, all managed from the dashboard without touching any code.
## What you need
* A PayGlue account
* To use **Link a product**: a payment provider connected, at least one product created, and a product mapping set up
## Create a button
In your PayGlue dashboard, go to **Installation > Buttons** and click **New button**.
Enter an internal name. This is only visible to you in the dashboard and helps you identify the button later.
Optionally add a **description** — also internal only — for your own notes.
Choose how the button links to your checkout:
**Free URL** — paste any link. This can be a checkout URL from your payment provider, a Ghost portal link, or any other page. No further setup required.
**Link a product** — select a product from your connected payment provider. The checkout URL is filled in automatically. Your payment provider must be fully connected and a product mapping must exist before using this option. Without a mapping, a purchase goes through but PayGlue cannot grant Ghost access to the member automatically.
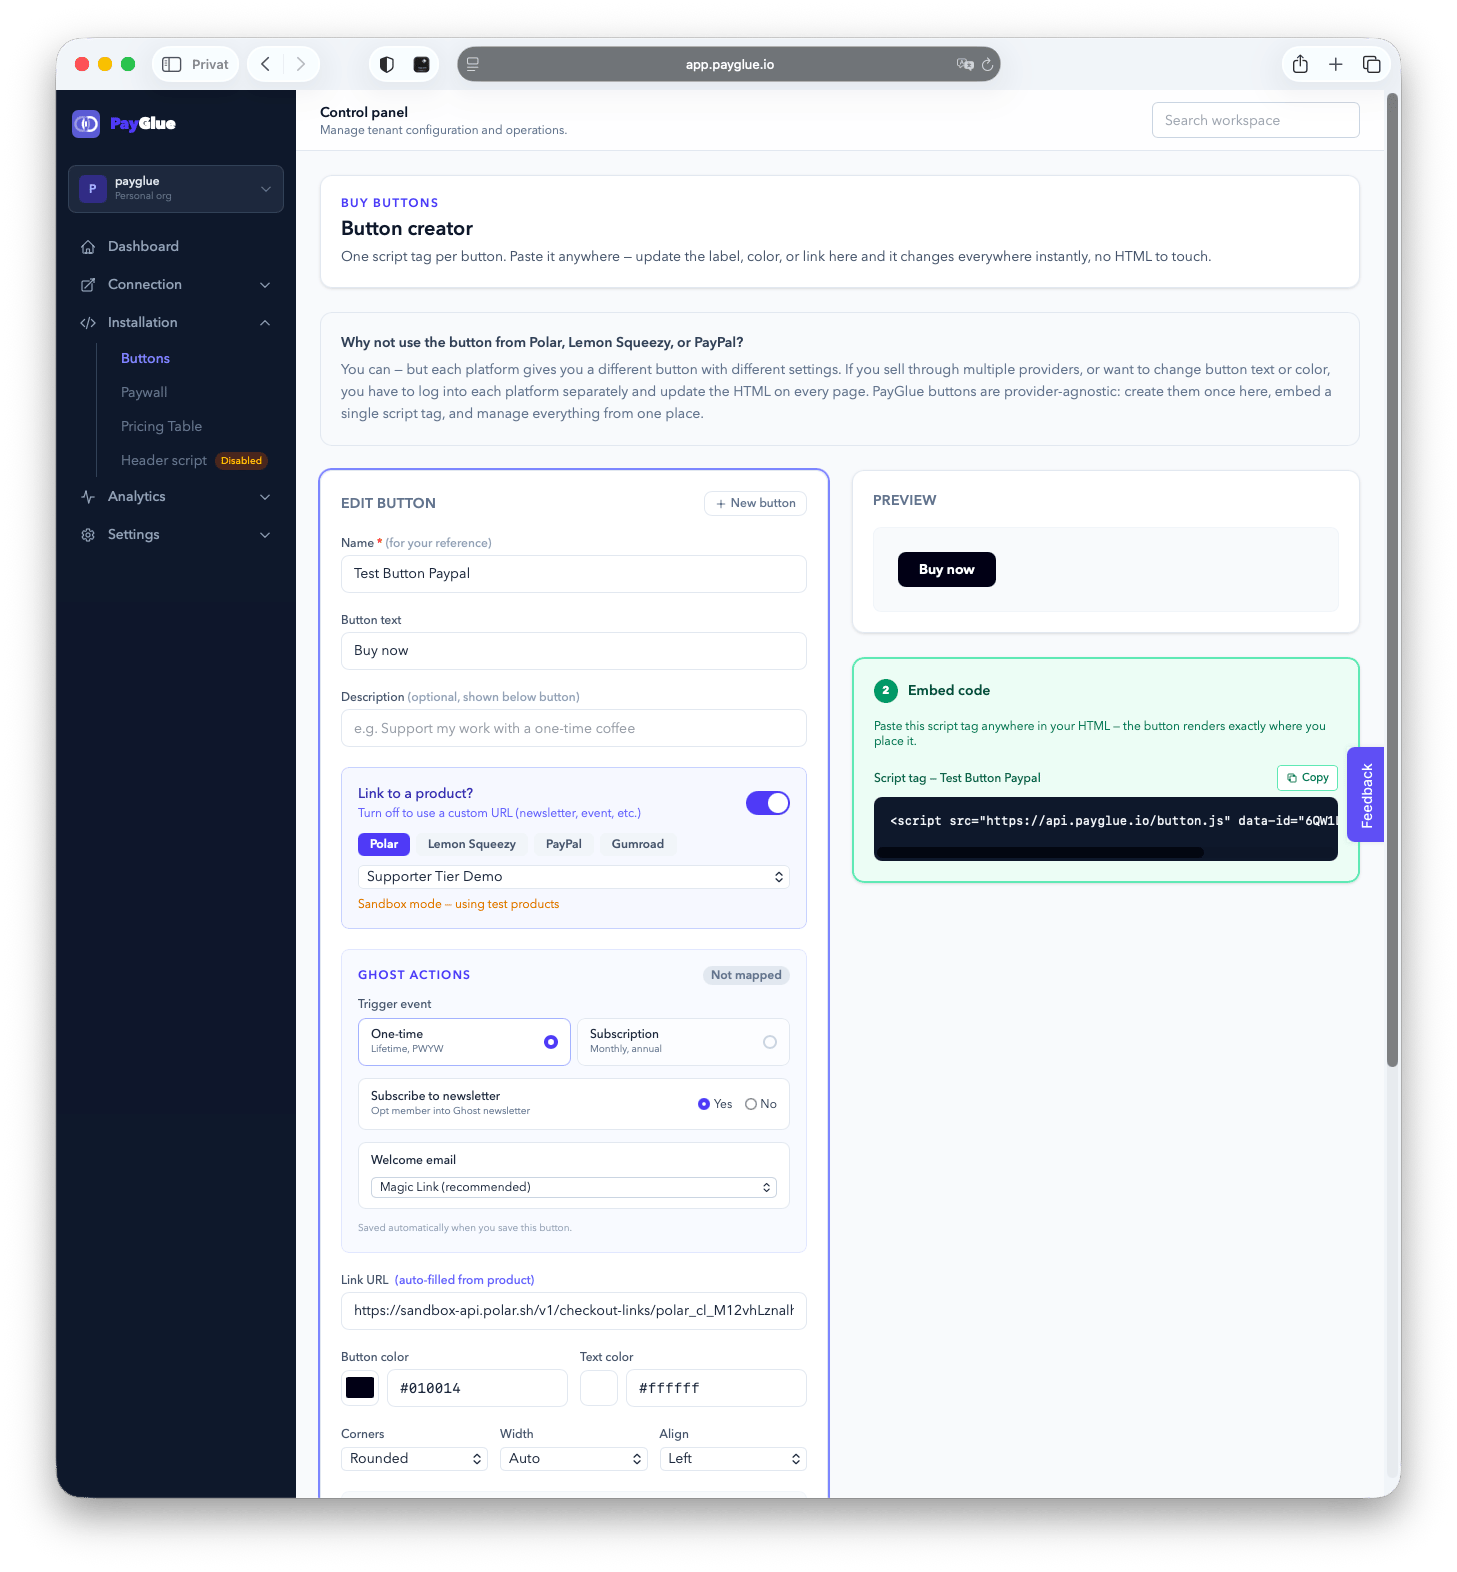 If you see **Sandbox mode — using test products**, your Polar token is set to the test environment. Purchases made via sandbox buttons do not result in real charges and will not trigger webhooks in production. Switch to a production token in **Connection > Polar** to go live.
Set the button label, background color, text color, border radius, and width. Use the alignment options to position the button within the Ghost editor column.
Under **Open link in**, choose **New tab** (recommended for external checkout pages) or **Same tab**.
If you see **Sandbox mode — using test products**, your Polar token is set to the test environment. Purchases made via sandbox buttons do not result in real charges and will not trigger webhooks in production. Switch to a production token in **Connection > Polar** to go live.
Set the button label, background color, text color, border radius, and width. Use the alignment options to position the button within the Ghost editor column.
Under **Open link in**, choose **New tab** (recommended for external checkout pages) or **Same tab**.
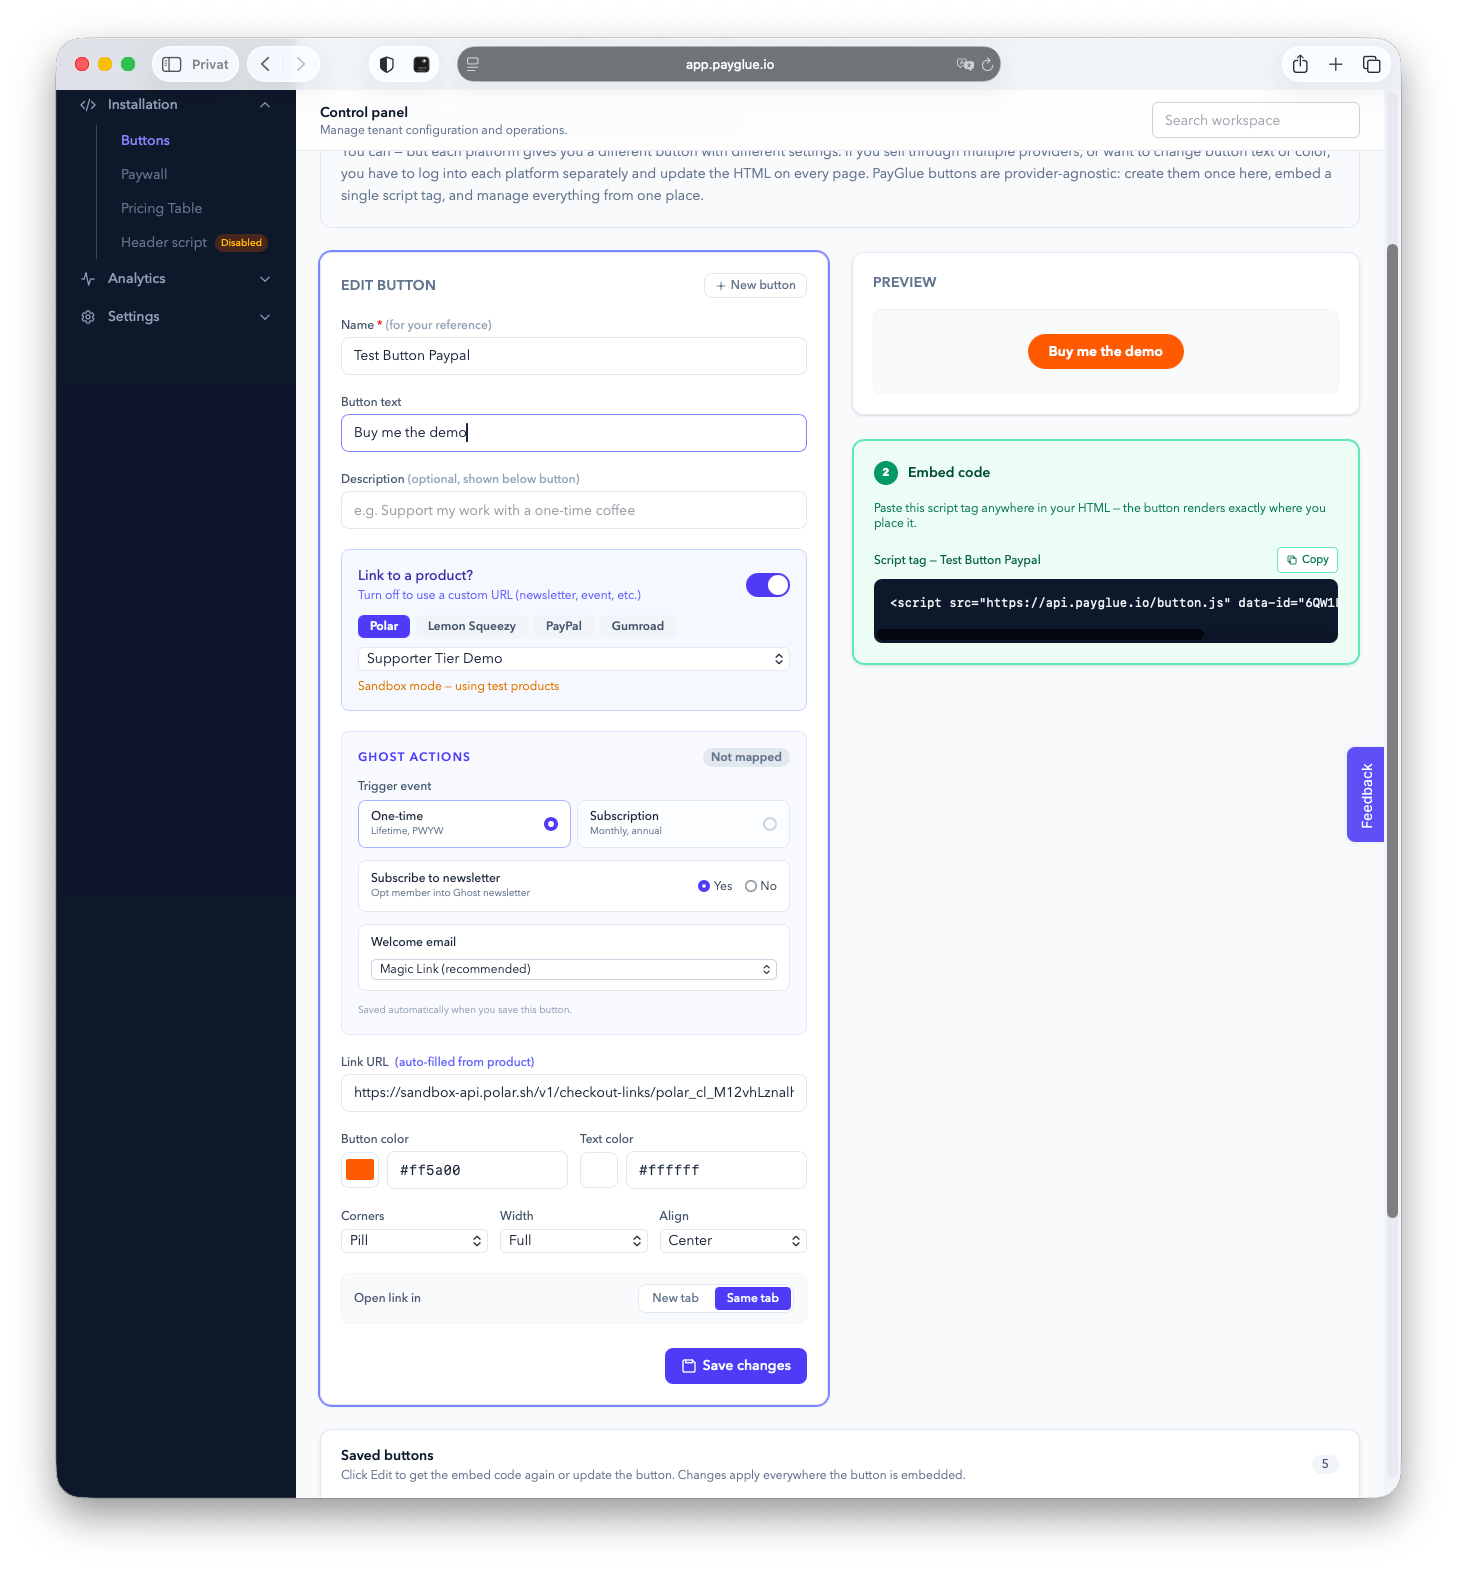 Click **Save**. The embed code appears directly below the form.
Copy the embed code.
In your Ghost post or page editor, add an **HTML card** where you want the button to appear, then paste the embed code.
Click **Save**. The embed code appears directly below the form.
Copy the embed code.
In your Ghost post or page editor, add an **HTML card** where you want the button to appear, then paste the embed code.
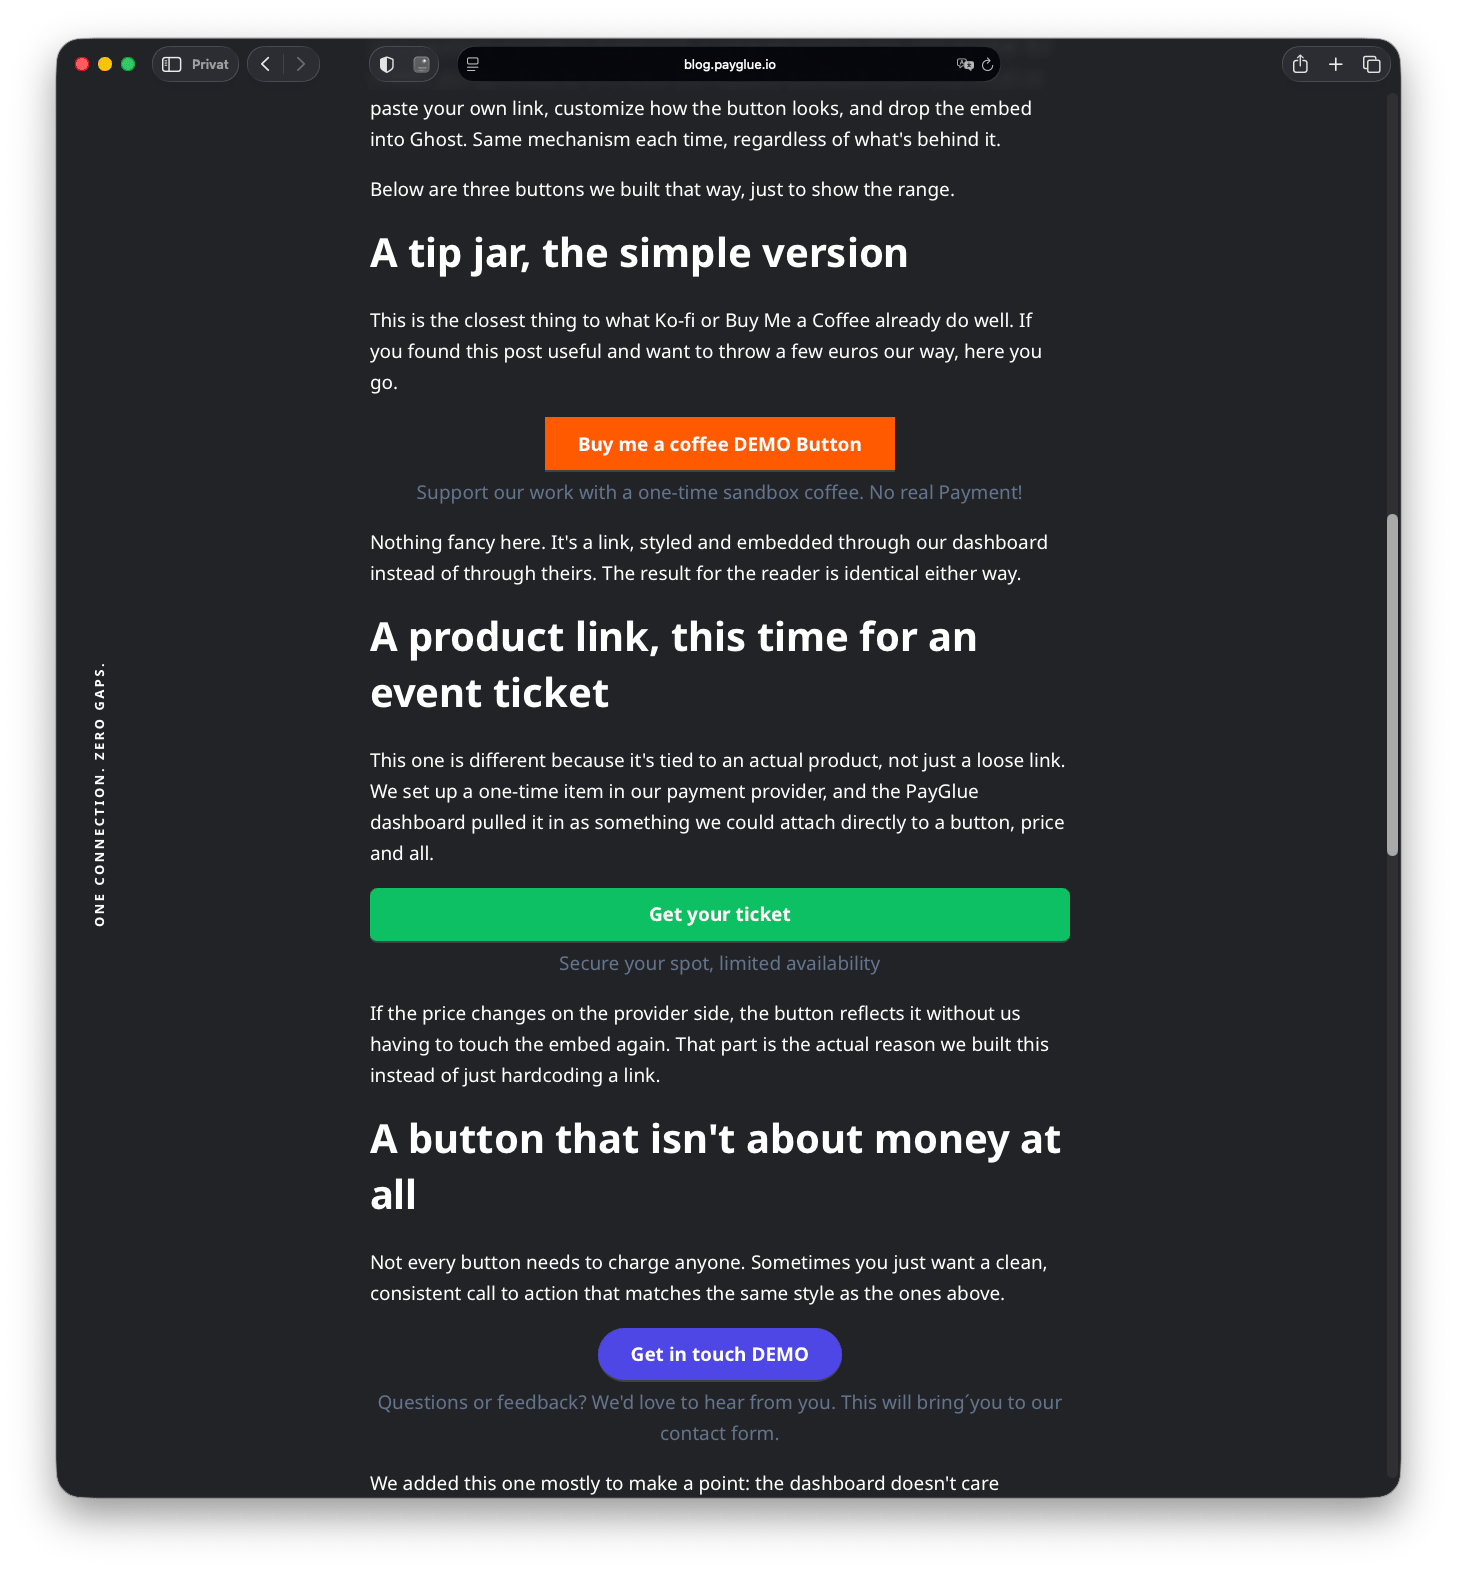 Just visit [https://blog.payglue.io/three-buttons-one-dashboard-how-we-embed-payment-links-in-this-blog/](https://blog.payglue.io/three-buttons-one-dashboard-how-we-embed-payment-links-in-this-blog/) and you can smash some buttons.
## Editing a button
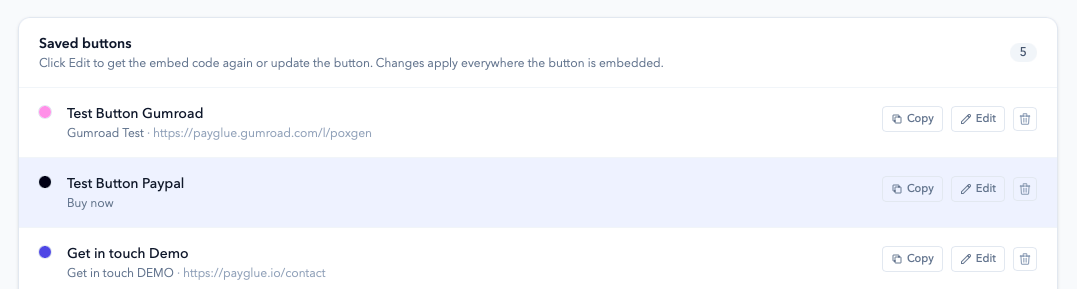
Open **Installation > Buttons** in the dashboard and click the edit icon next to any button. Changes apply to all posts that use that button's embed code — you do not need to update the embed in Ghost.
Just visit [https://blog.payglue.io/three-buttons-one-dashboard-how-we-embed-payment-links-in-this-blog/](https://blog.payglue.io/three-buttons-one-dashboard-how-we-embed-payment-links-in-this-blog/) and you can smash some buttons.
## Editing a button
Open **Installation > Buttons** in the dashboard and click the edit icon next to any button. Changes apply to all posts that use that button's embed code — you do not need to update the embed in Ghost.
 ## New tab vs. same tab
The default is **New tab**, which is recommended for external checkout pages. Choose **Same tab** if the link should keep the visitor within your Ghost site, for example when linking to a Ghost member portal page.
## New tab vs. same tab
The default is **New tab**, which is recommended for external checkout pages. Choose **Same tab** if the link should keep the visitor within your Ghost site, for example when linking to a Ghost member portal page.